My main gamepad is a Retrobit Legacy 16, a perfectly cromulent USB pad that in my dusty memory banks feels exactly like a SNES controller, but it's been awhile since I've used one so I'm sure there are more differences than I realize.
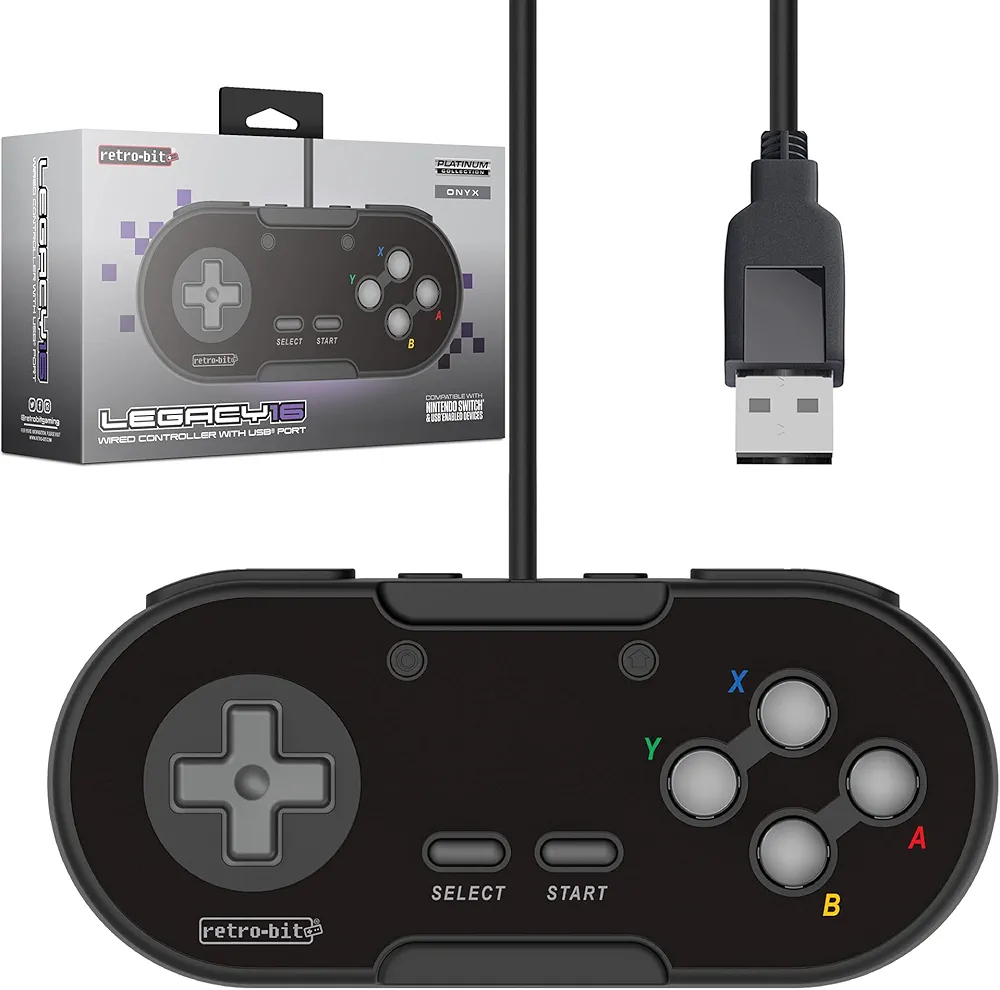
One such difference is that the D-Pad is a little bit too sensitive: when you're holding left or right, it's far too easy to accidentally press up or down (and vice versa.) This wasn't too bad at first, but it's gotten worse over time, coincidentally after it's been dropped on the floor more than a couple times. There may be some connection here. (in my defense, it's easy to do when the cord weighs more than the controller.)
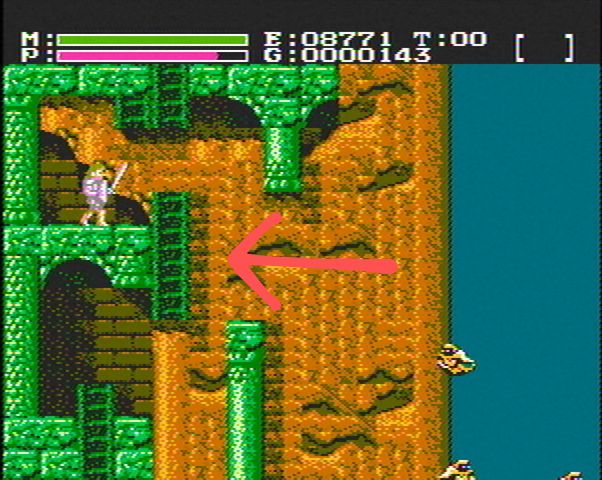
I was still able to play games like Mario with little ill effect other than occasionally accidentally going through a door or pipe I didn't intend to, but I was playing Faxanadu the other day and I found it nearly impossible to climb the ladder outside Forepaw without falling off to the right. It took all my concentration to press up in the exact middle of the D-Pad to climb straight up.
Thanks to kouban for the screenshot.
So I googled around a bit, as much as is possible in the blasted hellscape that is the web in 2025, and found a forum thread called D-Pad sensitivity issue. It's for a different product, a gameboy-style handheld (in hindsight, I'm not even sure it's a retrobit product: the forum tagline is "easy electronics")
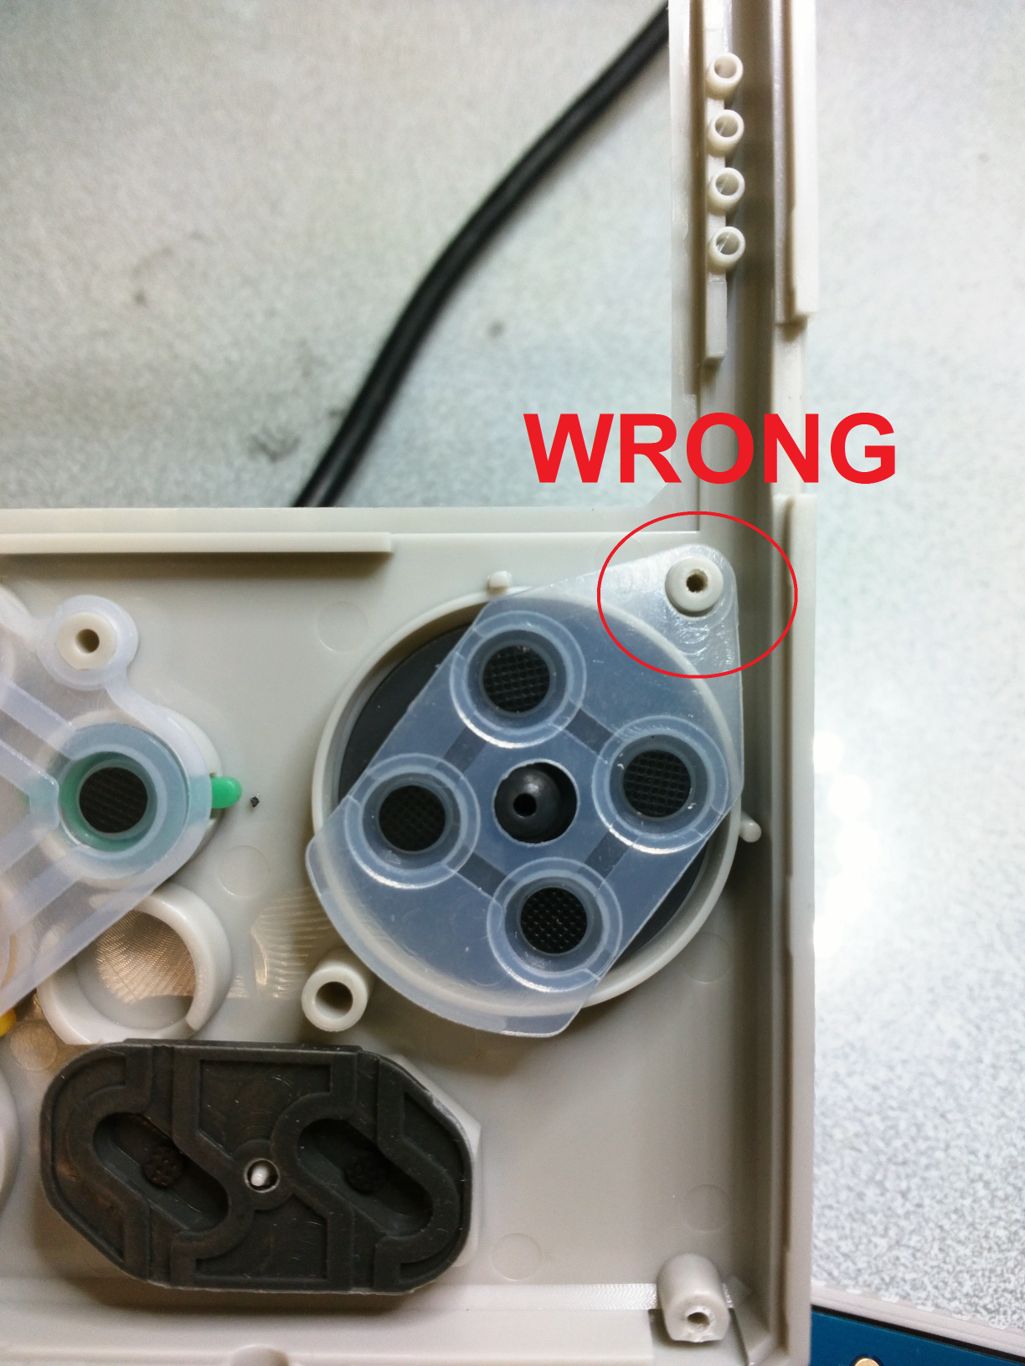
The poster recommended flipping the D-Pad membrane so that the hole was attached to the opposite post. I didn't know if my gamepad's D-Pad was adjustable in a similar way, but I figured it was worth opening the controller to see.
Now, I've watched a million youtube videos where people open up electronics and game peripherals (old and new) to examine, mod and repair them. I figured I was comfortable enough with the concept for a simple diagnosis. If the D-Pad wasn't adjustable, I'd simply put it back together. Well, it turns out no amount of watching prepares me for doing.
My favorite tech documentarians, like Cathode Ray Dude and James Channel will leave their mistakes and failures in their videos, which I really respect. They could easily edit the videos to make themselves look like expert geniuses who get everything right the first try. They present an authentic version of their skill and success rate, and it helps the hobby feel more approachable. I'd love to be someone who can understand and fix old and broken electronics, breathe new life into stuff that would otherwise be e-waste.
But it feels like my mistakes and failures are much more basic than the ones they experience, and it makes me feel pretty hopeless when I can't even properly disassemble and re-assemble a simple SNES pad. It had five phillips-head screws holding the back on, and I used the right size screwdriver, but one of the screws wouldn't loosen. I have difficulty telling by feel if I've got a good grip on the screw drive, so I don't know if it's stripped or if the screw hole just wasn't formed properly. But with enough wiggling I managed to get the back off with the screw still in place.
I pulled the main circuit board out and found that the D-Pad membrane did in fact have a second binding post. It didn't look quite like the picture, both posts were the same size, but I figured I'd rotate the membrane and see if it made any difference.
Putting it back together wasn't the simple reversal of steps I anticipated. The shoulder buttons and the tiny circuit boards holding their contacts aren't attached to the main board in any meaningful way: with the main board removed, the tiny ones were dangling on their wires, held on by nothing but their solder joints. The front half of the shell has tiny plastic slots for the boards and tiny plastic pegs to seat the shoulder button hinges, but getting everything to stay in place while I attempted to re-assemble the shell required more patience and concentration than Forepaw's ladders. The smallest bump or shake would send the buttons flying out of their crappy little seats. I almost took a pair of wire cutters to the shoulder buttons and said "fuck it, it's just an NES controller now."
But I persisted, and managed to finagle the back cover on. But the problems continued. The wires connecting the shoulder buttons and USB cord to the main board were just sort of smooshed between the circuit board and back cover, and if they weren't smooshed in just the right way, they'd foul the slots that the pegs on the back cover are supposed to fit into. So with several furtive glances at my wire cutters, I'd adjust the wires, try to get the cover on, re-seat the shoulder buttons, adjust the wires, try to get the cover on, re-seat the shoulder buttons, etc. etc...
I did finally get the cover back on and the screws in, but it's not the same controller. There's a visible gap between the two halves where I just couldn't quite sandwich the pieces together properly. I didn't feel like I could tighten the screws all the way, and it feels substantially less solid than it did when it was factory-new.
But, it did fix the problem. The directions on the D-Pad are much more discrete, and I can press a direction without any errant perpendicularity. It... kind of feels bad in a different way, like it requires too much force and my thumb will hurt if I play too long, but that's more accurate to how I remember the Nintendo D-Pads.1 I don't know how long my kludge will hold together, but I declare the job a dubious success.
What lessons have I learned from my struggle? Mostly that I'm not equipped for this kind of work. All the hardware nerds I watch have a dedicated work space. My bread and butter is software, so my desk is fully occupied by computer and keyboard and monitor at all times. I didn't think it would matter for such a "quick and easy" job, but having a big flat surface where I could set the controller down and arrange the cord so that its weight wasn't constantly trying to pull the rest of it down, I think, would've helped a lot.
I think I should also get a dedicated set of small screwdrivers for working on small electronics. My screwdriver is pretty nice: it's a big Wiha multi-head driver with 12 reversible bits stored in the handle,2 so there's a good chance I'll have the kind of screwdriver I need for most occasions.
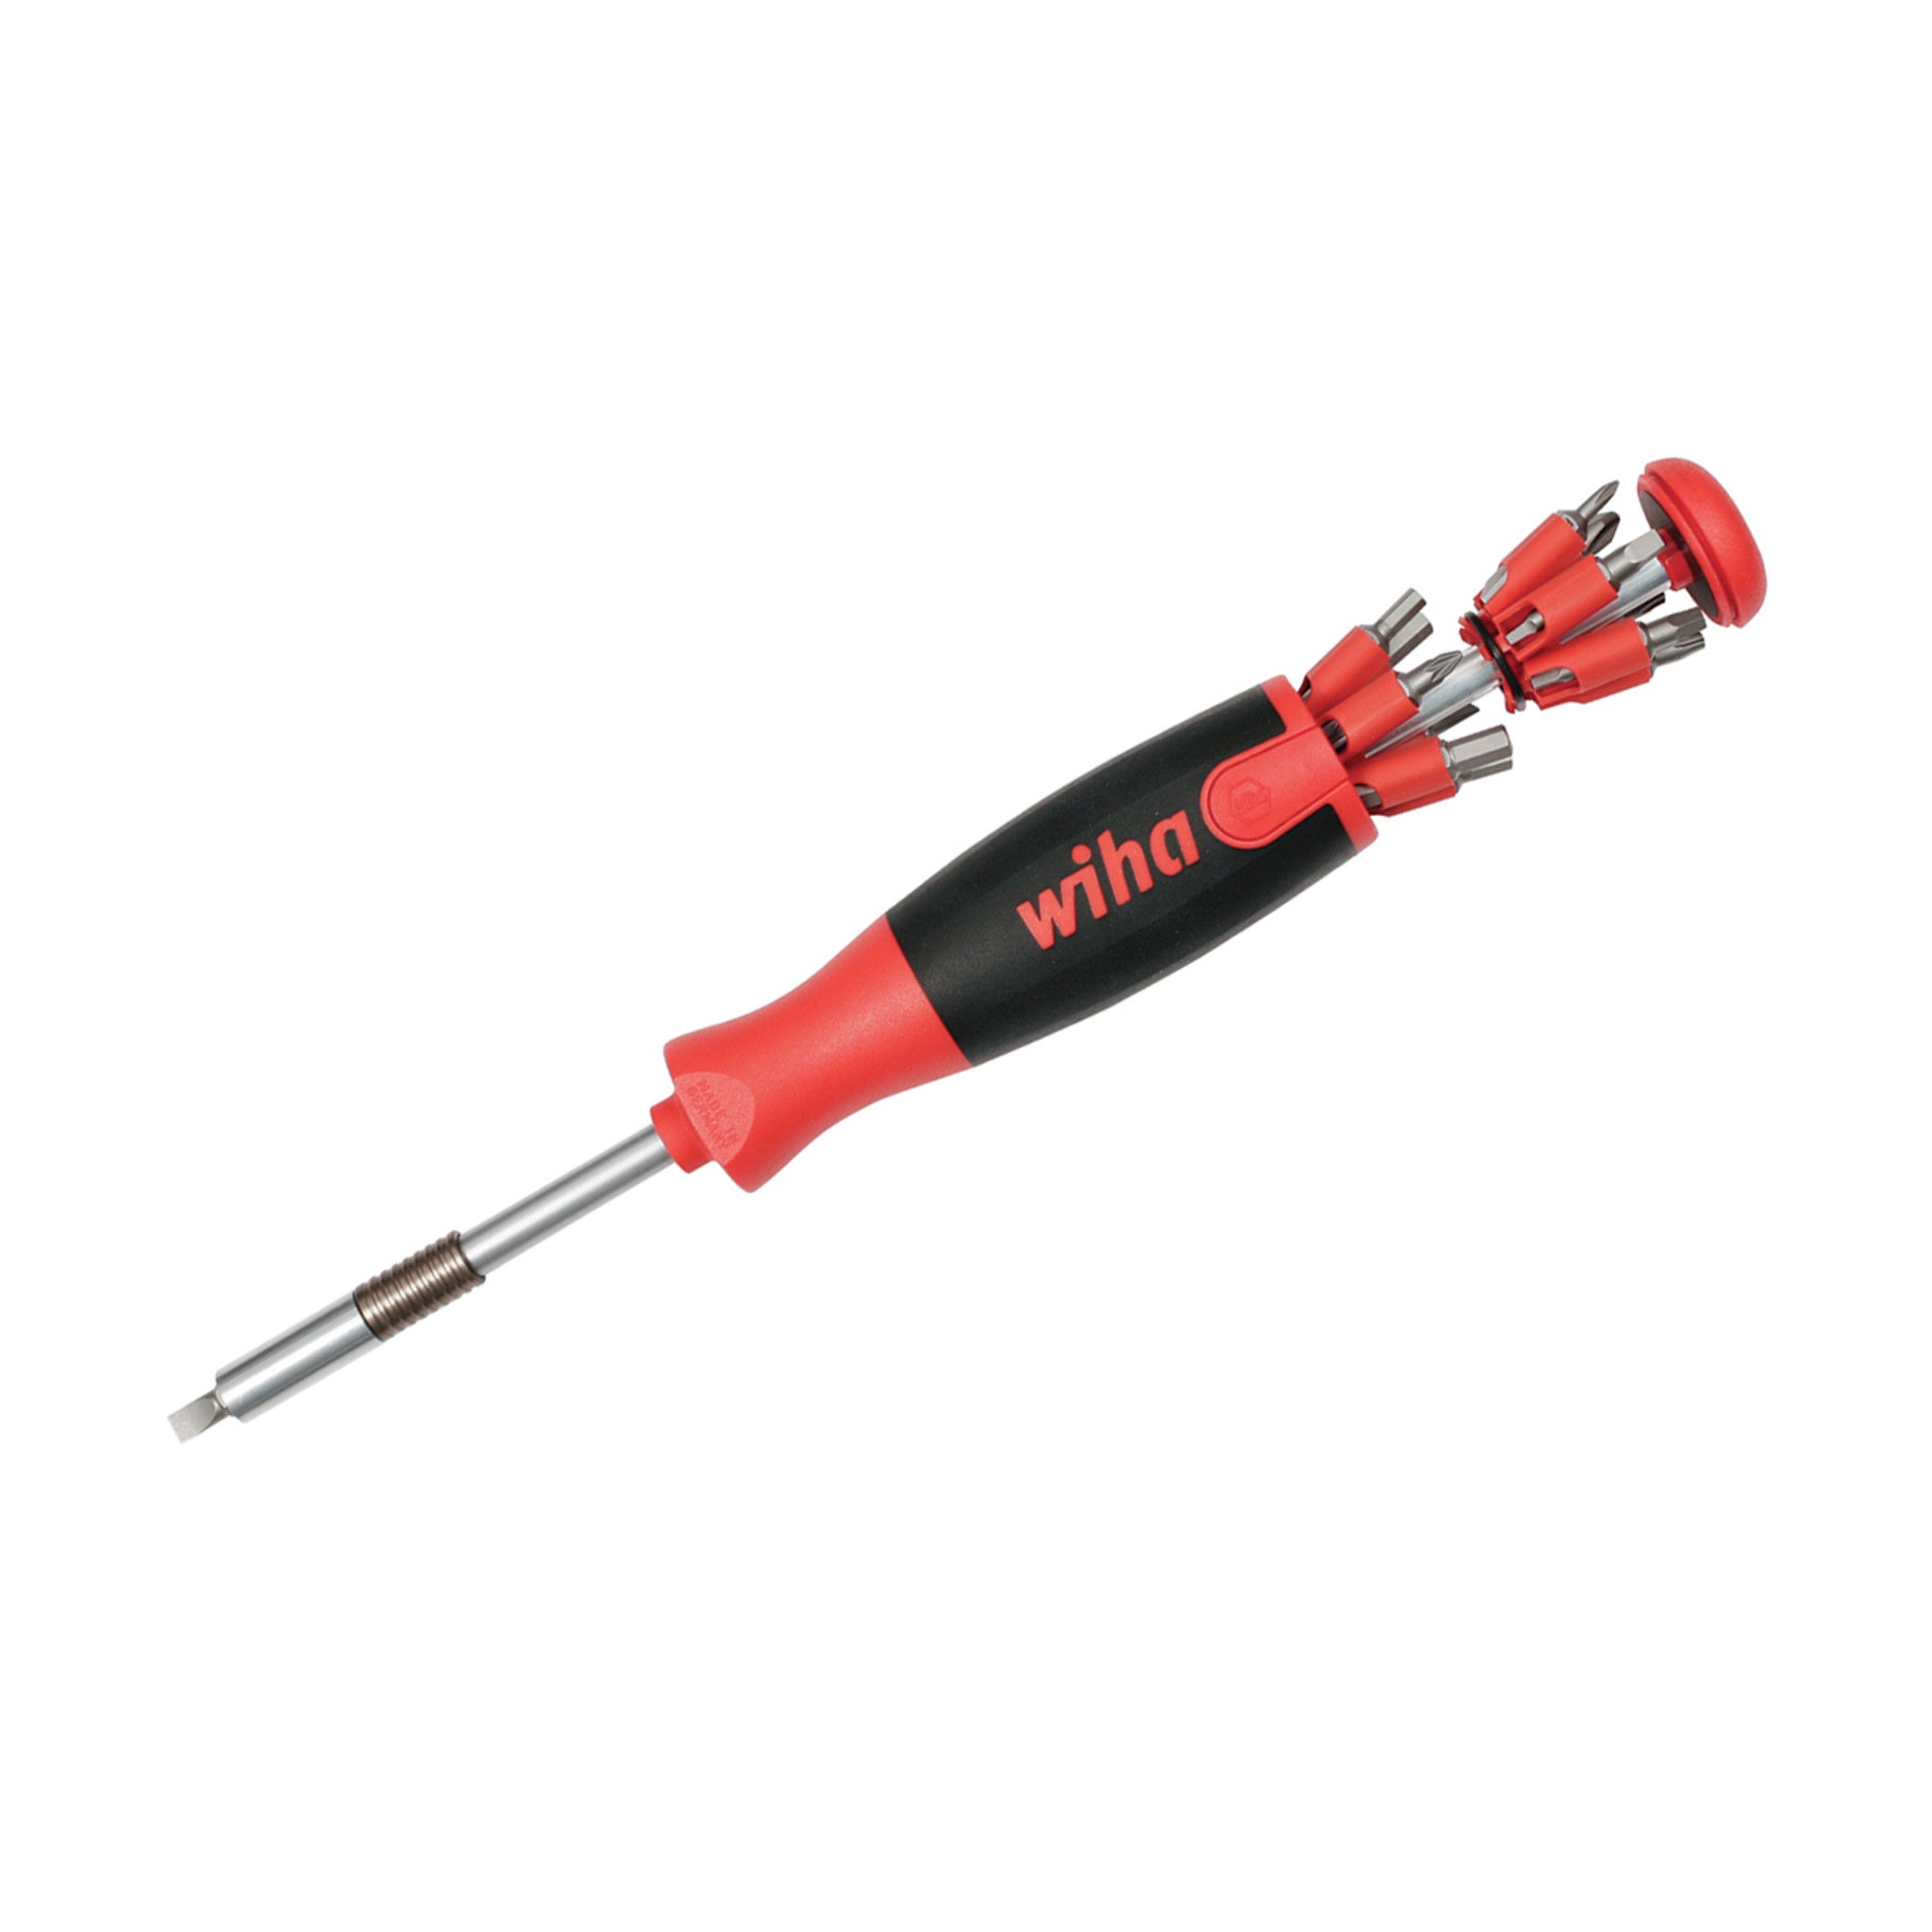
But for small screws, it's hard to get down into the recess and it's hard to tell by feel how well it's gripping. A set of small dedicated drivers may help.
But more than anything, I think my fumbling comes down to lack of confidence and need for practice. I want to get my hands on more broken electronics and try to fix them, and to do that I need a more flexible work space, and that's just not a situation I can change right now. I don't have room for a separate work table, and I can't afford to replace or modify my current desk to accommodate physical work. I'd need a swivel mount for my monitor so I can move it out of the way when I need space, and some sort of storage compartment for my keyboard. Then there are a lot of little things it'd be nice to have in a proper work space, like better lighting, clamps to hold things in place, a magnifying lens, and magnetic screw storage. And of course, if I ever want to get into proper electronics repair I'd need a multimeter, soldering iron, desoldering tools, an oscilloscope...
This is one of those "expensive to be poor" situations where I can't afford the up-front costs of what I need to repair things, despite an interest in learning and desire to learn how to do so; and so I have to buy cheap crap, and when (not if) it breaks, replace it over and over forever. The boots theory of socioeconomic unfairness strikes again.
-
Games that require constant fluctuating motion in both axes were hell on my left thumb even as a kid, even on the original controllers, and I'd always be in pain after a particularly intense round of Ice Hockey or Back to the Future. But most games I play aren't like that, so I should be fine. ↩
-
Needless to say, I acquired this in the before times, when desperate precarity wasn't a given and I could occasionally splurge on higher-quality gear. I got sick of never having the right screwdriver for the job, and wanted one I could invest in for life. It was around $30 at the time, and it's usually the right screwdriver for the job, it's just not always the best screwdriver for the job. ↩